
HOMER Pro 3.16

![]()
The HOMER Pro MATLAB Custom Component allows you to create your own component using MATLAB. HOMER interacts with the MATLAB software to run your MATLAB functions during the simulation. To use this feature, you need to have:
•HOMER Pro 3.8 or later installed
•A 32-bit version of MATLAB installed and licensed
•A HOMER model with the HOMER Pro MATLAB Custom Component selected in the Custom Set Up drop-down menu
•One MATLAB function described below (these comprise your custom algorithm; example M-files are included below)
•A custom resource for the custom component (optional)
The steps to create a Matlab Component are detailed below.
1. After ensuring that the MATLAB you installed is a 32-bit version, enter the full, absolute path to its '\bin\win32\' folder. A typical path is 'C:\Program Files (x86)\MATLAB\R2014a\bin\win32'.

2. Enter the path to the MATLAB M-file. The MATLAB M-file (with a .m extension) is where you write a function to calculate the power output of the custom component. The MATLAB M-file connects with HOMER Pro to get the output of the component.

3. Enter the name of the MATLAB M-file so HOMER knows which MATLAB M-file to load. Be sure to exclude the extension .m in the name.

4. Add a Custom Resource to be used by the Custom Component (optional). The following example models the MATLAB Component as a Solar PV array. To produce power, it needs a Solar GHI resource. As an example, to add global, horizontal irradiance time-series data (8760 hours) as a custom resource, follow these steps:
a.Click Add under Resources.

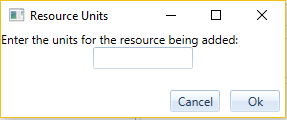
b. Click the Add button under Resources. In the pop-up window, enter the units for the resource. Because the resource in this example is global, horizontal irradiance, enter the unit as kWh/m2.
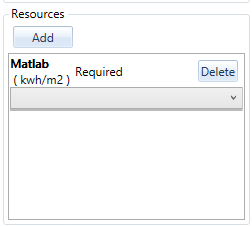
The unit appears in the Resource section.
c. Import/ Enter the resource. Click the Custom button under Resources at the top of the page. The units that you entered in the previous step appear in the Needed Resources section.
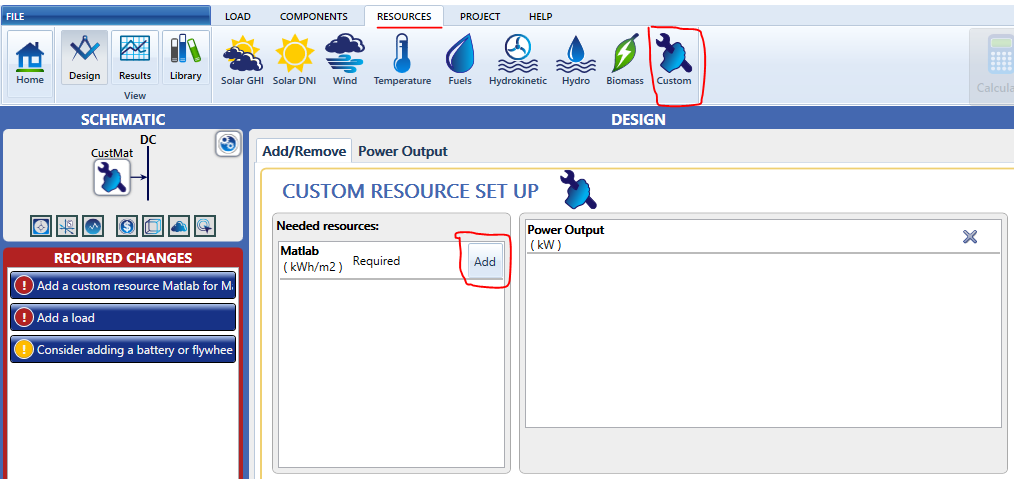
d.Click Add.
e.Click the Import button or the Import and Edit button. See the Custom Resource page for more details.
See also
