HOMER Pro 3.16

The HOMER Setup Assistant guides you through the process of setting up a model in HOMER.
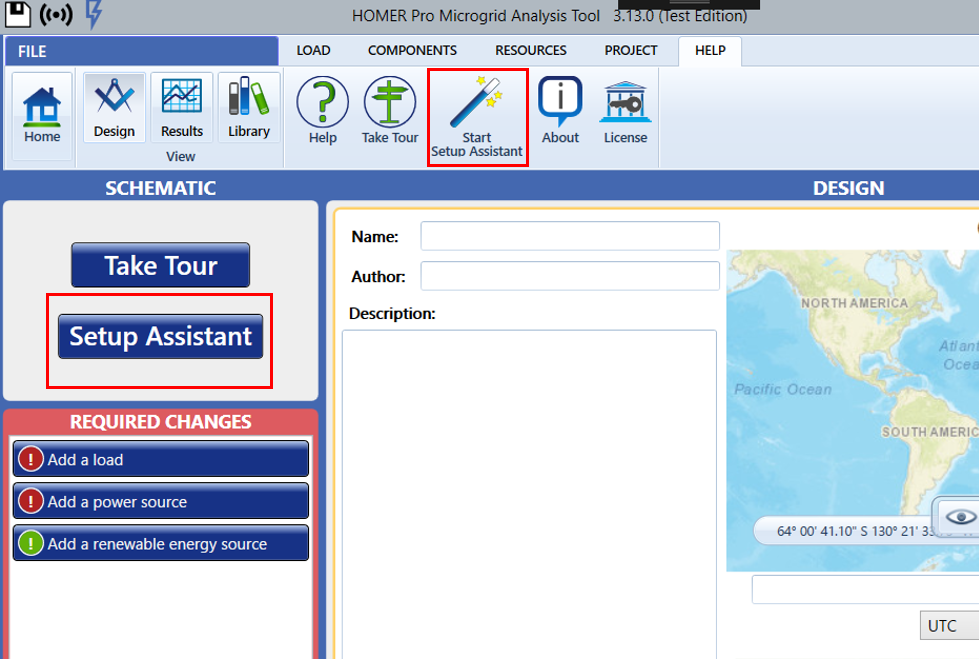
When you are ready to start a project, click the location for your system on the map on the Design page and click Save in the pop-up window. (Alternatively, if you know the exact co-ordinates, you can enter them in the wizard.)
Click the Setup Assistant button in the Schematic section of the page or under the Help tab in the toolbar at the top of the page.
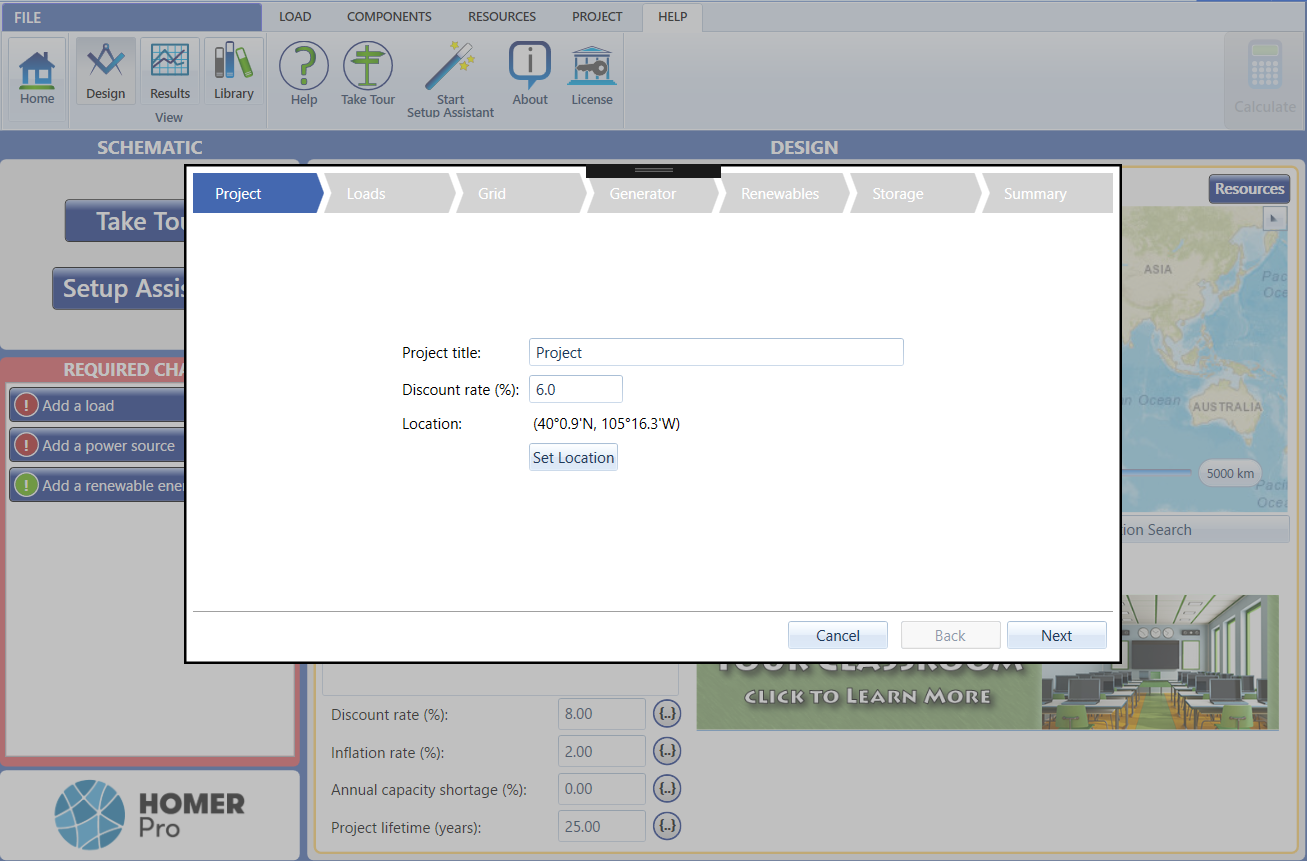
The Setup Assistant opens in a pop-up window. The basic sections include:
•Setting up the project
•Defining loads
•Adding the grid
•Defining a generator
•Adding renewable sources
•Selecting storage
•Viewing a summary
Enter or select the requested information in each section of the pop-up window and click Next. When your reach the Summary section, review your entries. Check the Include Sensitivity Cases box if you want to perform a sensitivity analysis. You can click the Back button to go back to a section to make changes. When you are finished, click Calculate in the Summary section. HOMER performs its calculations.
Note: You can make further adjustments to your model later by clicking an item in the Schematic section of the page or using the Load, Components, Resources, and Project buttons at the top of the page.